Have you ever found yourself spending hours online looking for the perfect activity to do with your clients? I’ve been there! But over time, I’ve learned to change my approach to “work smarter, not harder,” as my mom has always told me.
So instead of spending hours searching for ready-made telepractice materials, now I make sure to get the biggest bang for my buck. I may spend 10-15 minutes a week and end up with activities that I can use with all of the kids on my caseload. I will then cycle through those activities with various students for the week (as appropriate), and only after I’ve exhausted all of those materials will I start the process again. So, are you ready to learn how to simplify your life (and planning) by utilizing the power of Boom Cards?
For weeks (okay, maybe months) I’ve been putting off creating Boom Card decks. Today I pictured myself sitting at my computer sipping coffee with hours of “free time” to finally play around with the Boom Cards site. This would not be the first time that I’ve sat down at my computer with the intention of creating Boom Card decks…and it certainly won’t be my last. But I’ve decided that today is not the day. Instead of creating Boom Card decks, this morning I’ve decided to share with you how to get the most out of what is already out there. How does that sound?
I’m focusing on Boom Cards because I use them with every single kid on my caseload: from my toddlers to my teenagers, boom cards have a place with them all! If you are new to using Boom Cards, they may seem a little mysterious, or a little daunting, but I’m going to try to simplify it for you so you too can “work smart, not hard.”
First thing’s first…if you don’t have a Boom Learning account, you need to create one. If you already have an account, skip to Step 2.
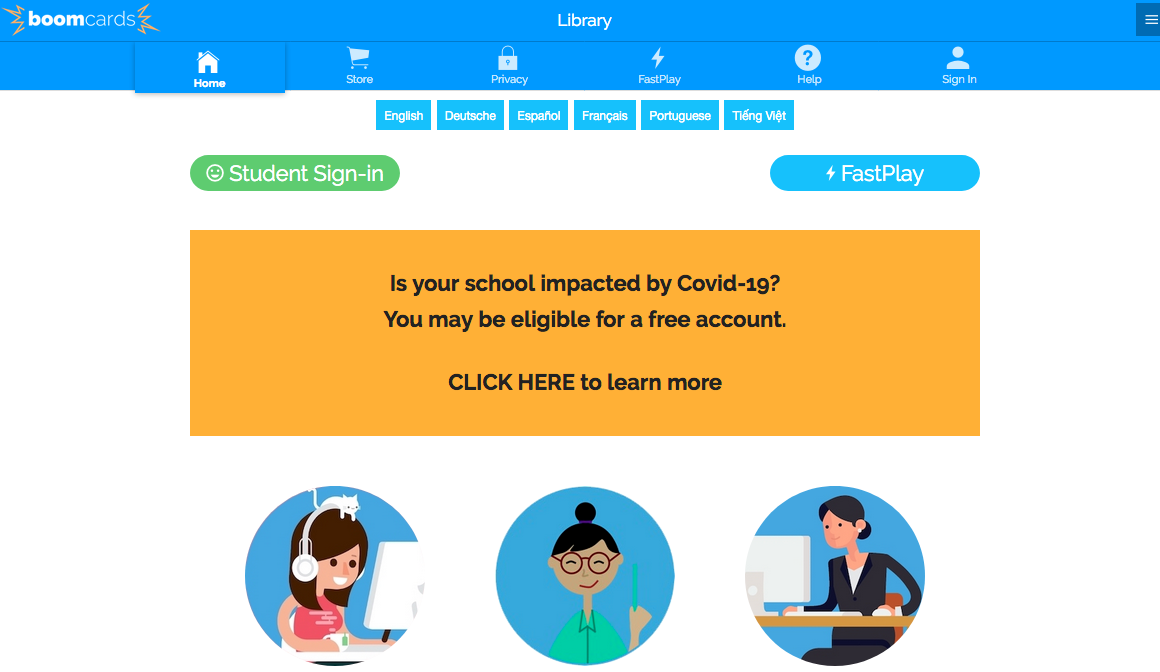
Step 1: Create a Boom Learning account.
- Visit https://wow.boomlearning.com/, and click on “Sign In” in the top right corner.
- If you don’t have an account, click on “Join for Free” at the bottom of the page.
- You’ll then click on “I’m a Teacher” to create your account.
- You can choose how you’d like to sign up: with Email, Facebook, or Google.
- You’re all set!
Now that your account is created, you’ll primarily use two menu items to navigate your account: “Store” and “Library.” Your store is where you will “purchase” your boom decks (or find the free ones), and your Library is where you will keep them organized (hopefully)!
Once you’re in the Store, the “Search” bar is where the fun begins. I have a few tips regarding getting the most of your search. This goes for most sites, not just Boom:
- Keep it simple: The less specific you are, the more search results you will yield.
- Think outside the box: Think about what other terms are related to what you’re looking for.
Step 2: Search for free decks.
Let’s say you’re looking for an activity to address pronouns. This is what you would do.
- Type “pronoun” in the search box, and press enter.
- Go to “sort by,” and select “Price – Low to High.”
- Items with “0 pts” are what we’re looking for.
- Click on the image or title of the deck to open a preview.
- Click on “Full-sized preview” above the image of the deck. This enables you to see a sample to determine whether the deck will fit your needs.
- You can actually “play” the sample cards, or just click on “skip” to view more.
- If you like what you see in the preview, click on the green button that says “Add to Cart.”
- Once you have completed your search and are ready to “Checkout,” click on the Cart icon in the top right corner of the screen.
- Click “Checkout Cart.”
After you purchase your decks, they are automatically added to your library. Once I started acquiring a large number of decks, I realized that I needed to develop an organization system so I could find what I was looking for when I needed it. I like that the library also has a “search” feature, but it is going to make your life so much easier if you organize your library. This can be done either by student, by goal area, or both. I’ve decided to organize my library by student because it helps me with my planning. I know exactly what I am going to be doing with that student, so I move the deck to their folder. You can have an item in multiple folders, so you do not have to worry about losing anything that you’ve moved to a folder. If you want more information about using Google Slides to organize your sessions, view my blog post about how to stay organized here.
Without further ado, let’s look at how to organize your library.

Step 3: Organize your library.
- Once you’re in your library, you will notice a menu on the left side of the page. At the very top of that menu is the word “Folders.” To create a new folder, click on +New Folder.
- Create a name for your folder. I like to use client initials.
- You can then click and drag any item that is in your library to your folders. You will just need to be sure to click on a blank open space so you’re not accidentally opening a new page or menu. If you see the four-point arrow, you know that you’re able to drag it. When you move the deck over to the folder, the folder that it is going into will turn blue.
That’s it!
Now that you have found your decks and you’ve organized them in your library, what do you do when you’re ready to play? That is our fourth and final step:
Step 4: Play your boom card decks.
- On each boom card deck, there is a blue “Action” button in the top right corner. Clicking on this will bring up a menu.
- The easiest way to play the Boom card decks during your session is to select “Fast Pin.”
- Click on “Fast Pin,” then “Generate Pin.”
- You will then click on the generated web address to highlight it, copy it (Ctrl/Command+C), and paste it (Ctrl/Command+V) into a new tab or window in your web browser.
- During your session, you will share your screen using your telepractice platform’s menu. If you are using Zoom and want your students to be able to hear the audio, be sure to click “Share computer sound” when you share.
- Finally, if you want your students to use the decks for home practice, send them the same “Fast Pin” hyperlink. Keep in mind that the link is only available for 7 days. You can always generate a new link, but I would suggest keeping the same one until it expires.
Here are a few final tips about using Boom Card decks:
- If you are going to be playing multiple decks in a given session, I would suggest opening all of them in separate tabs before your session begins.
- When I am planning my sessions, I have the fast pins listed in my Google Slides and can open them before each session.
- If your student is using a mobile device, ipad, or Chromebook, there is limited functionality with their ability to interact with the Boom Cards. If you want your clients to be able to click and drag items in the Boom Cards, they need to use a computer. You will then be able to grant them remote control access of your computer screen.
With the huge surge in popularity of telepractice, there are many options for free and low-cost materials that can be used in telepractice. In this post, I’ve provided information about how to find and use free Boom Card decks. Keep in mind that you can always purchase decks, and I absolutely encourage you to support those SLPs who create and sell their digital products.
Check out our Telepractice Tools store on Boom Learning℠. Please remember to click “Follow” to add us to your default search.
If you are interested in learning more about how to use Boom Card decks, please check out my two-hour recorded Boom Basics Workshop.
If you need any support regarding Technology in Telepractice or Ready-made Lesson Plans for Toddlers, please view our course page with the full lineup of our online courses.